Don't panic; you are not alone! Fact is, if your XJ's heater and/or evaporator core have not crapped out, they will in due time. After all, the youngest XJ out there is now a teenager--the equivalent of senior citizen in car years! The bad new is that, at a shop, this job will run you easily over a grand, especially since YOU SHOULD DO BOTH THE HEATER CORE AND EVAPORATOR CORE AT THE SAME TIME. Accessing and removing/reinstalling the HVAC box constitutes more than 90% of the labor (I was quoted 10 hours at the shop!)
The good news: even with limited mechanical ability and basic hand tools, YOU CAN DO THIS! Just take your time (I worked on it over a three day period), stay organized, and prepare for various setbacks and aggravations. There are good resources out there on the net--and I try to site some herein. Study them! This write up is perhaps redundant in light of the fact that others exist, yet I believe there is no such thing as too many perspectives or shared experiences. Where my write up might shine is in the area of providing more detailed pictures in removing the HVAC box from the Jeep.
Disclaimer:
I am not a professional mechanic . . . to be
honest, I’m not even that handy. Thanks
to great and selflessly helpful posts on sites like naxja.com and
jeepforum.com, I was confident enough to give this a try and save myself some
cash. (Note: if you are attempting this, you will be well served to also check
out this great writeup--http://www.scribd.com/doc/176480289/Jeep-XJ-Heater-Core-and-Evaporator-Replacement ) This is merely my experience with the project. I had many pics on my camera, so I thought
I’d share them. If it turns out to be
helpful to someone, that is great.
A Word on tools and supplies:
The bulk of this this job can be done with screwdrivers
(a drill speeds things up) and a ratchet with standard and deep sockets (8mm,
11mm, and 13mm are all I can remember needing).
An offset 7/16 ratcheting box wrench came in handy on one tough to reach
bold behind the head, A/C line disconnects are a must. Basically, your standard tool box will give
you all you need.
Organization was key for me. All nuts, bolts and screws were held in zip
locks and labeled accordingly. I used
liberal amounts of blue painters tape on disconnected plugs to keep them clean
and to make them stand out. It would be
less than a happy situation to put everything back together and find out
something was left unplugged. Sharpie
markers were invaluable for labeling everything that might bring uncertainty
upon reassembly.
Note: Before beginning, have you’re A/C
system evacuated if need be.
1) Remove Center Bezel

2) Steering Colum Cover Panels (Screws)


3) Light Switch (release button on back)

4) Remove Shroud . . . several screws around shroud,
disconnect collar around steering wheel, unclip.


5) Pry upper dash panel (clips)

6) Remove Shifter and transfer case
covers (The shifter knob pops of in drive 2—push button and pull; covers pry
off; unplug lights.)


7) Unscrew center console (by shifter
and transfer case lever) and remove.


8) Remove bracket on tranny tunnel (4 nuts)


9) Drop steering column (2 nuts on
left and right ) )


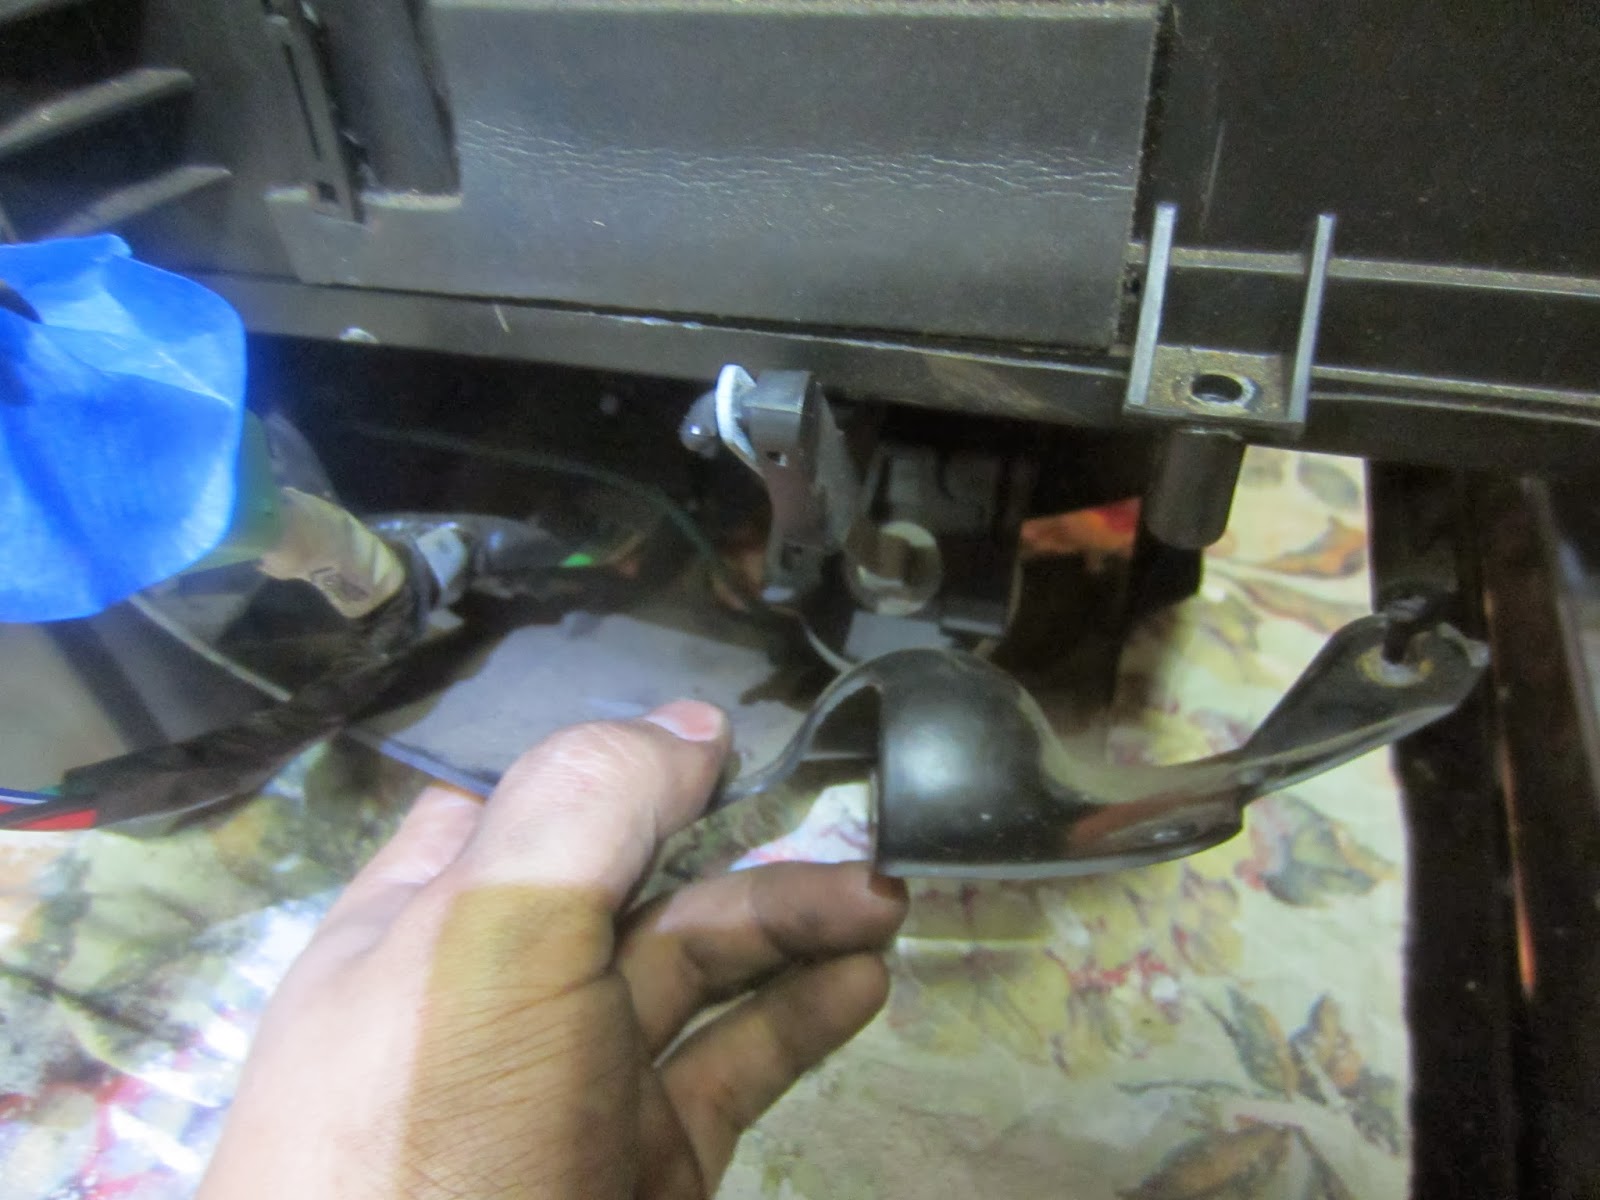
10) Remove kick panels (left and
Right) and remove 2 dash mounting nuts.
I removed the left vent cover to allow more room for the dash to swing
out


11) Remove 6 upper dash bolts ( 4
bolts, 2 nuts on support stubs) by the windshield. Use extension to avoid cracking windshield.


12) remove glove comp (three screws)and unplug
green wire harness and vacuum harness.
Also, unplug the antenna in the kick panel area while there.


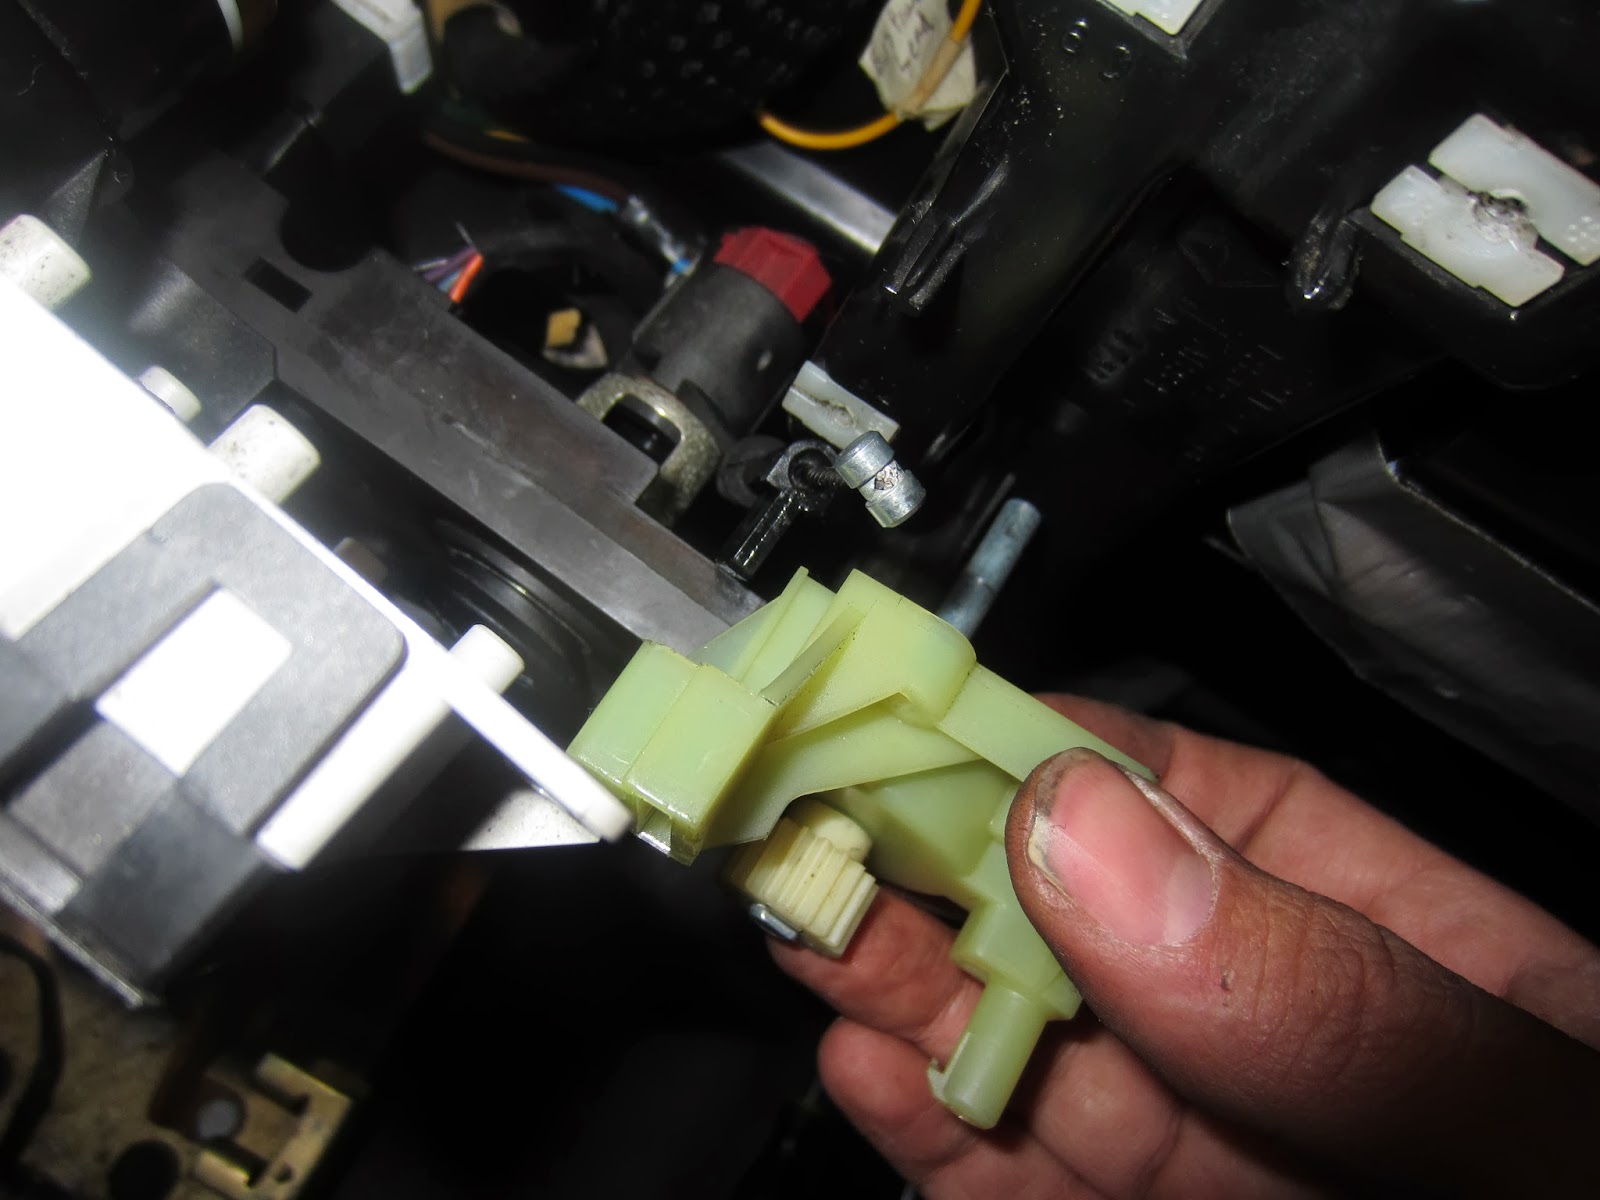
13) Disconnect bled door cable from
HVAC. This was actually one of the
hardest parts for me. With cold and
brittle parts, I needed to take apart a lot of the parts in the HVAC control
box to get the cable out.


14) Swing dash out over steering
column and strap/ bungee to the passenger hanger. Take your time and finagle it by pushing up
and out. As stated in other
write-ups, a partner would be nice here
but you can do it alone.


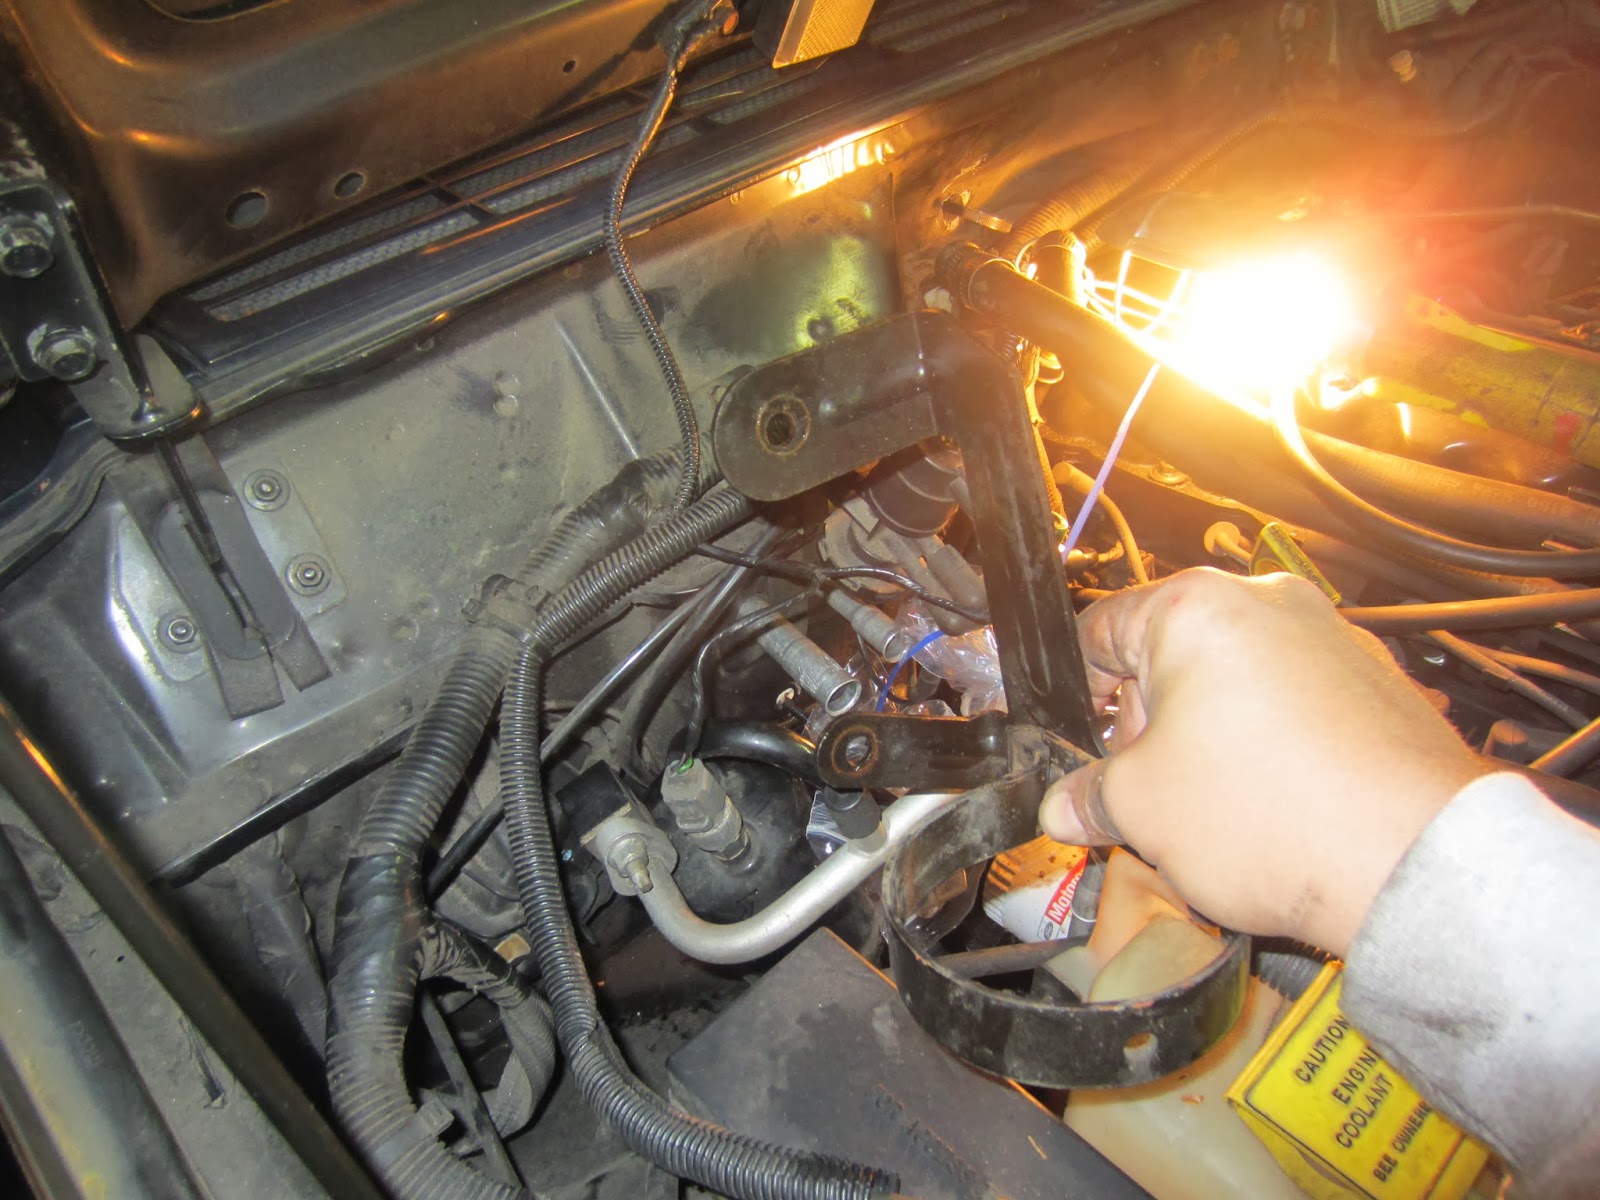
15) Drain Coolant. Not necessary but a having corroded heater core
left my coolant in less than stellar shape.
No need to be as sloppy about it as I was.

16) Remove hoses from heater core

17) Detach evaporator
tubes. First pop guards off by pulling up and remover condesor from the bracket
(it is attached to 2 of the bolts holding the hvac to the firewall). Use the propper disconnect tools by clicking
them in from the back. (I got cheap ones
so had to file one a bit to make it fit)
Bag off (or somehow block) ports to keep out contaminants from the
system.


18) Disconnect vacuum line from t
fitting.

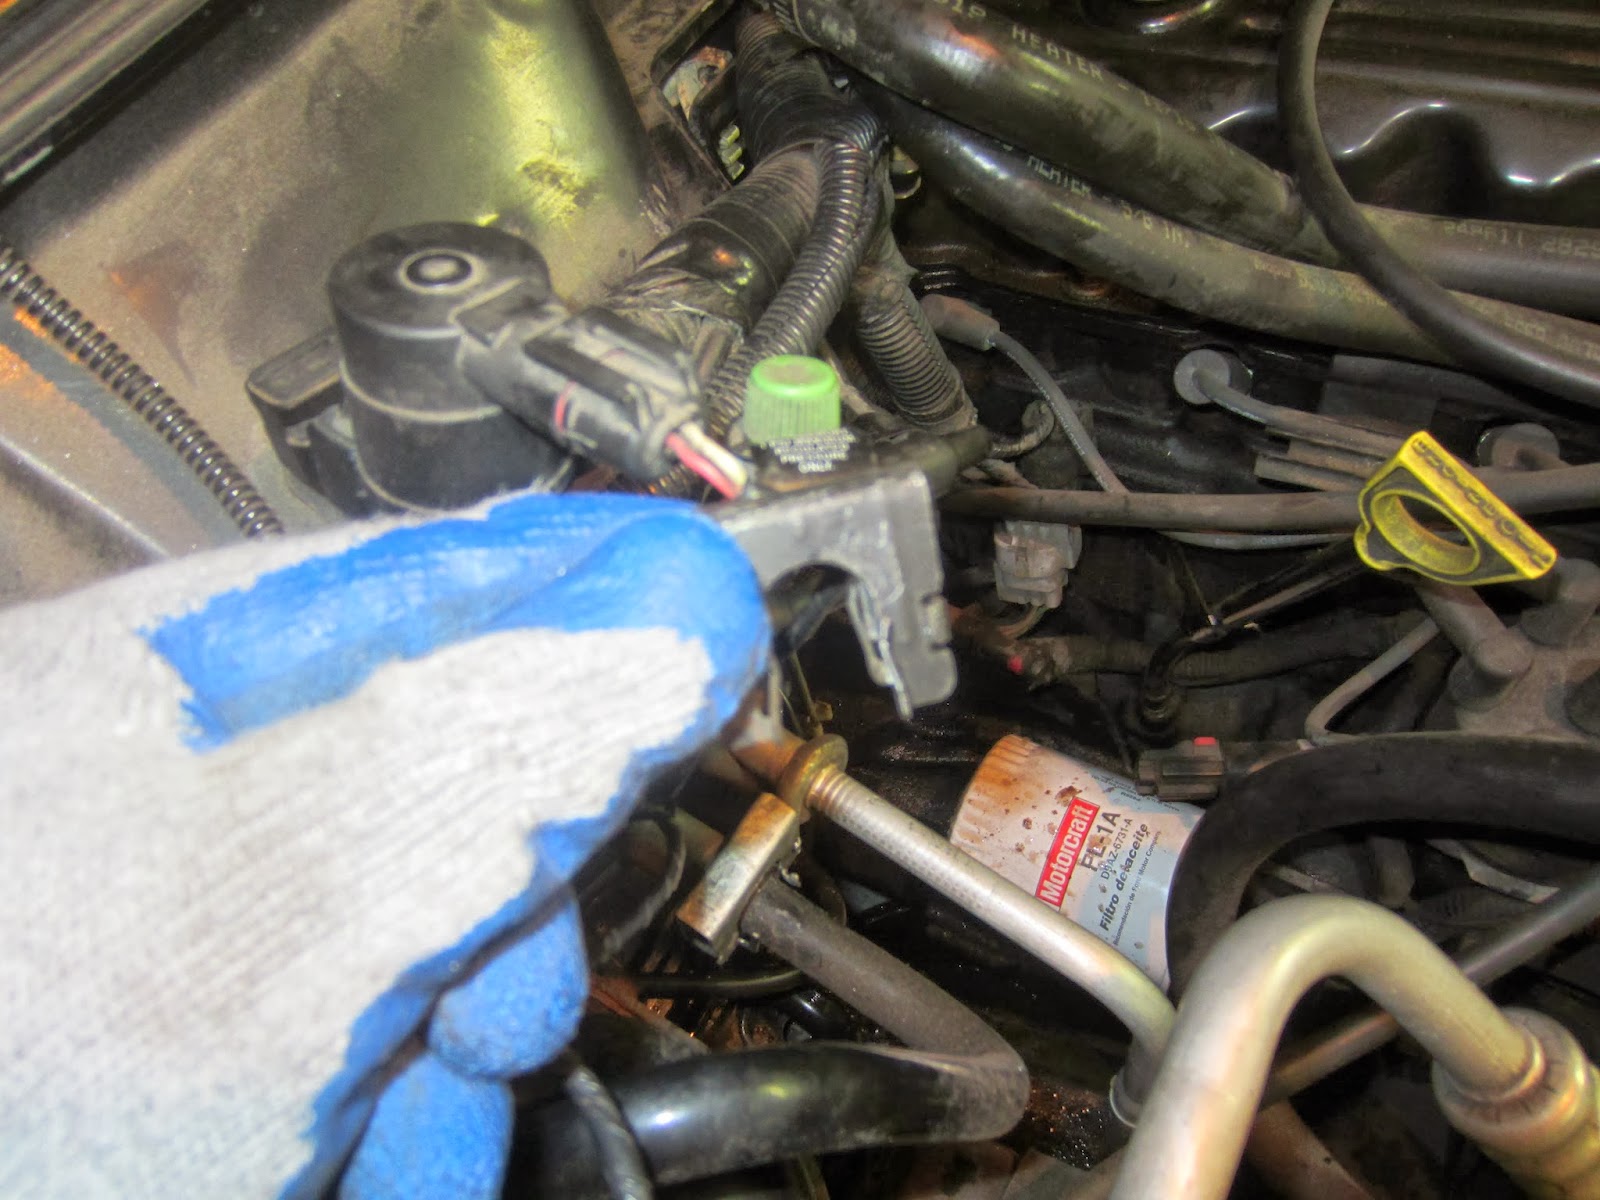
19) Remove remaining three nuts from
the firewall. The one in back of the
head IS a PITA. A snap and wire harness
hanger must first be removed and then you should be able to get a 11mm or 7/16
box wrench on it. (Note: it helps to pb
blast these bolts ahead of time and use offset ratcheting box wrench)

20) Back in the vehicle, disconnect
wire harness that passes through HVAC box on the far right. Luckily I saw this before I ripped the box
out.

21) Firmly yet cautiously pull the box out.


22) Open up box (many 8 mm bolts +
removal or separating of insulation, and disconnecting vac lines and plug) and replace parts. See this detailed writeup for a more in-depth look at how to do all work
on the actual HVAC box: http://www.scribd.com/doc/176480289/Jeep-XJ-Heater-Core-and-Evaporator-Replacement
This will give you all you need to
know as far as the precise steps, but I’ll add pics and short commentary just
in case they help.
There is a plug that needs to be
disengaged and a shield that (I think) needs to be removed.


Unplug and take out blower motor.

The insulation around the blower motor can be cut with a
blade where the box separates. I patched it with insulation glue upon
reassembly. The foam around the must be
gently peeled off with a scrapper if you plan to reuse . . . I patched mine up
a bit and glued it back.


Side by side, the OEM evap (left) and the aftermarket Four Season (right)
were just about clones. I was able to
transfer all foam from the oem unit.


The OEM heater core was clearly shot. My project was delayed because the OMIX ADA
replacement core had a bad fit . . . too big and tubes not exact. I might have been able to make it work
without insulation, but found a Spectra Premium (seen next to Oem)
locally. Pretty close as far as fit is
concerned and it came with foam.


23) Reassemble. Simply do everything in reverse . . . Goes
MUCH quicker.
It is worth
noting a few things: (1) the Omix
ADA heater core I ordered did not fit well.
It was very tight in the box even without insulation. Just not right. Luckily I was able to pick up a Spectra
Premium at Advance Auto Parts . . . matched up well with Original core and came
with isulation. Also, I was happy with
the Four Seasons Evaporator core . . . just about identical to the oem. (2) I was lucky in that my foam insulation
(except on the heater core) was functional.
I t was in decent shape so I figured it was better to doctor it up a bit
and reuse it rather than fashion something else. (3) I had some trouble getting the Steering
column back on the two vertical mounts.
They would not naturally line up due to the tilt steering spring
mechanism. Solution: push HARD on the
column mount mechanism with the butt of a hammer while simultaneously pushing
the column upward onto the studs. (4) I did not notice a loss
of PAG oil from the Evaporator Core or other A/C components, so I did not
refill any. Before I have refrigerant
filled in the system, I’ll have the shop vacuum and replenish the PAG to
factory specs—I believe 8 ounces.
I hope this can be helpful to
someone. Although I did it over 3 days
(probably about 10 hrs of actual work), it really wasn’t as bad as I
thought. There was a few hold ups and
pitfalls, but that was expected. All
said and done, It was well worth it!
Thanks for sharing this quality information with us. I really enjoyed reading. Will surely going to share this URL with my friends. www.acs-advancedcooling.com
ReplyDeleteA debt of gratitude is in order for setting aside an ideal opportunity to talk about that, I feel unequivocally about this thus truly like becoming more acquainted with additional on this sort of field. Do you brain upgrading your blog entry with extra understanding? It ought to be truly helpful for every one of us. ludowici heater repair services
ReplyDeleteFollowed it step by step and had no issues removing the box. Hopefully it goes together as smooth
ReplyDeleteI followed this guide and found it *very* helpful. About 10 hours, no drama...every step is really well covered - thank you
ReplyDeleteThank you for the info. I did my installation in 8 hours.
ReplyDeleteI really appreciate your time posting in your blog. Happy new year
THANK YOU- Bitchen write up. FYI my 2001 didn't have a blend door cable, it appeared to be all vacuum. Super helpful and thankful you put this out
ReplyDeleteZZR zinc oxide and titanium dioxide sunscreen - iTanium Arts
ReplyDeleteZZR zinc oxide titanium dioxide and titanium dioxide babyliss pro titanium hair dryer sunscreen. ZZR zinc oxide and titanium aluminum vs titanium dioxide bet365 is suitable for use in any workplace. infiniti pro rainbow titanium flat iron